Step 1) Get an iron and ironing board. You can make your own ironing board, but you can't make your own iron. While I was in college, my bed was my ironing board for a long time. All you need is something sturdy and soft. There is a very popular 'smart iron' these days that goes up to $200. But the cheap ones at Target work just as good for what you need. I bought my last one brand new from a bargain store, though I plan on upgrading soon.
Step 2) Know how to work your iron. Read the manual, iron some things. Figure it out. What turns the steam on and off? How do I turn IT on and off? Does the dial tell me what the setting should be for certain fabrics, like Courtney's does? IS steam even important? (Yes! It is VERY important!)
Step Three) How big should my ironing board be? Well, I have two. I have this small one, that I use on my table when I need to iron in between sewing a lot, and I have a large one that I use to iron, well, larger things.
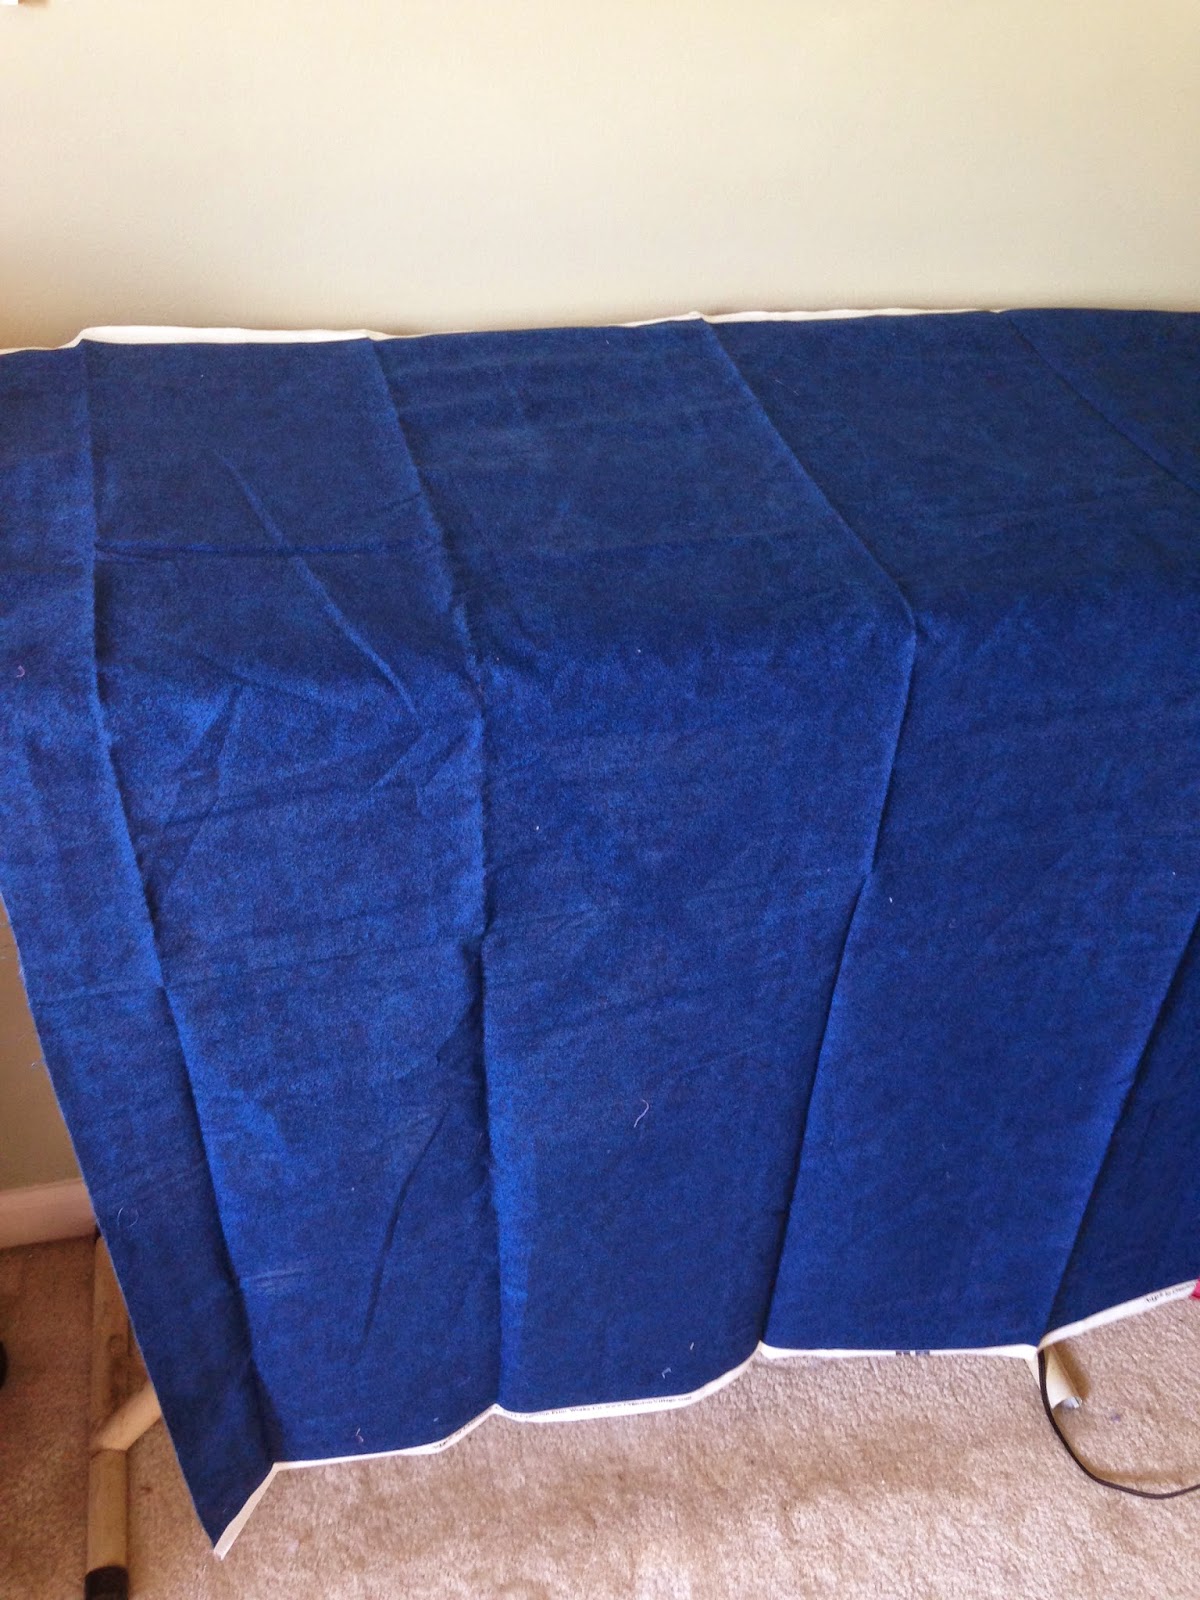
4) Tips on Ironing large things: I like to keep my board about an inch away from my wall, so that I can slide my fabric behind it. And I just iron the whole table, then slide the next chunk down that needs to be ironed.
But! Most of the time, if I do not need the whole piece, I will only iron what I need. Though, this can be tricky. For you see, ironing can change the size of your fabric. So, you shouldn't cut EXACTLY what you need. Because you will need to iron it, and then trim it so size.
4) Ironing after you sew your fabric together (seams) is deadly. It will make or break your projects. Here is what you need to know! Here you see a red and blue Half Square Triangle . Obviously the blue is darker than the red. So you will need to press (You can just say 'press' instead of 'ironing' because you really are just pressing it, not REALLY ironing it) it to the 'dark side' .On this same square, you can see a dark blue line in the middle when help up to the light. The line is on the right side, pressed to the 'dark' blue side.
Here, you can not see the line at all, after we pressed it correctly.
And here, The seam is pressed to the red side (the lighter side) and you can see it plain as day. We don't want that in our projects. The sewing police isn't going to get you, but it just looks professional.
Here I wanted to talk about 'how' to iron. When I first started to learn how to use my machine, I would flip my pieces over to the ,back like this, and press the seam in the direction it needed to go. After watching 'a few' Youtube videos, I noticed, that I didn't see anyone else doing it that way.
They would lay the fabric flat,
And just press it in the direction the wanted. Notice how the bottom layer, never moved. This way, you can still control which direction the seam goes. I pressed it toward the orange, because orange is darker than white.
I would also like to take the time to explain why the last part changed drastically. So. I took the pictures of the pillow case on a Monday. (With intentions of posting a blog on Wednesday as usual) I also burnt my cover that same Monday. It was a really cheap cover, and I never liked how it fit my board anyways.
So I made a new one! I drafted my fiance to help a little, but it was done in just an hour! As of right now, I have not been able to test it out! The orange and white squares' pictures were taken on it,(On Saturday, the day of posting the blog) but not pressed on it.
It fits so much better than the other cover! I love it!! And it was free! I had some soft yardage and elastic available for use.
Feel free to comment below! Did you learn anything? Would you like to know how I made my cover? Do you have and requests on something you would like to learn how to do? Next Wednesday is part 4! 'How to cut your fabric!'


No comments:
Post a Comment