Wednesday, August 6, 2014

Advice for Cutting Fabric! -Part Four!

Welcome to Part four in our 'How to Quilt Just About Anything' series. I know everyone is eager to throw some fabric underneath their sewing machine! There is only one step left before sewing, cutting! Cutting fabric is one of the most fun parts about sewing, I like to think. I love it! There is so much to go over, I hope I don't forget anything! Leave a comment below if you know something I have forgotten. This is a big subject, and I wont take any offense to a little help :)

1) When it comes to quilting, rotary cutters are a MUST. There is a lot of math, and fractions in quilting, so making precise cuts and measures number one on your list. When it comes to sewing, scissors are fine, and rough edges can be sorted out under the sewing machine. With quilting though, sewing a straight and even line is important. 


 To see an old example of scissors vs rotary, take a look here: This is the very first thing I put under my sewing machine. I had no intention of making a project, I just wanted to sew stuff together to test out the machine.

This is a very old picture, but this is also one of the very first things I put under my sewing machine, except I used a rotary cutter and a ruler. Again, no project intended, I just wanted to sew stuff together. Though this ended up in a birthday box mailed to my mom as a pillow. My aunt has it for safe keeps now.
2) Your second best friend is a cutting mat. They come in LOTS of different sizes and prices. For more than a year, I used a very small, cutting mat, with no problem at all! I cut large and small fabric on it. With large fabric, you just have to fold it up a few more times, and be a lot more careful. Though you really only need one, I use three cutting mats. I recommend getting the largest one you are able to get for your money, and available space.

I use my large 36" mat, for pretty much everything. It stays on my table as one of the best birthday presents I have gotten from my mother-in-law. The smaller mat on the left, is the one I bought myself when I started quilting, it has been through a lot! It was useful for sewing wherever I had the space in my apartment; desk, table or floor! The third one, on the right, is a rotating mat, I only recommend this mat if you plan to test out different shapes of rulers, or like working with small pieces. The idea behind it, is that you never have to pick up the fabric to cut, you move the mat instead.

3) You only REALLY need just ONE good ruler. Although, I have collected many. In the beginning I used a plastic ruler with my rotary cutter. Did you know rotary cutters are sharp enough to slice through thin plastic? They do over time! So I used a regular school ruler that was metal on one side, and I continue to use that ruler every now and then. My favorite ruler of all time, has GOT to be my 24" x 6" ruler. It is large enough to cut through large yardage and is the length of my cutting mat. Though the ruler you see most often in my blogs is always my 18" x 2" ruler. Small enough for small fabrics, but large enough to cover most medium sized things.
 Now, that you know the three things you need to cut with, let's get cutting! On this small mat here, I have the fabric folded so we can see the numbers. The less layers you have to cut through , the better, but sometimes you have to work with what you have! I did it this way for a long time.
 For smaller mats, stick to smaller rulers. :)
 4) You need somewhere to start: a straight edge. If there isn't a single edge you trust on your fabric as perfectly straight; there is a method, fold it. A fold is a guaranteed straight line! In this picture you can see I have it folded on a bold line. I decide how much to trim off, just by rounding down. In this case, I lined my ruler with the number 9 on top and bottom of the mat. This was only to trim off the uneven edges, and have a straight line to work with.  The whole reason we trim, is that fabric usually comes with uneven angled edges.


 5)There is a 'rule of thumb' to never cut past your hand. Part of cutting, is using your hand to put a little pressure on the fabric, to keep it from moving. There are a lot of rulers that help secure fabric under the ruler, but I always do this for added reassurance.

 You can either stop cutting and move your hand, or just 'walk' your hand up the ruler as you cut. I prefer to pause my cutting hand, while the left hand moves up.

 This assures a clean cut, the whole way through.
 6) Now that we have one clean side, you can choose to do the other side at this time too. You can pick up the fabric and align the straight edge on a bold line on your mat and trim the same way.
 If you have a large cutting mat, you could also just move your ruler over to the other side, and trim.  I chose to do neither. I just cut the strips that I needed from the right side. I left the left side unclean and put it back in my fabric drawer for another time.
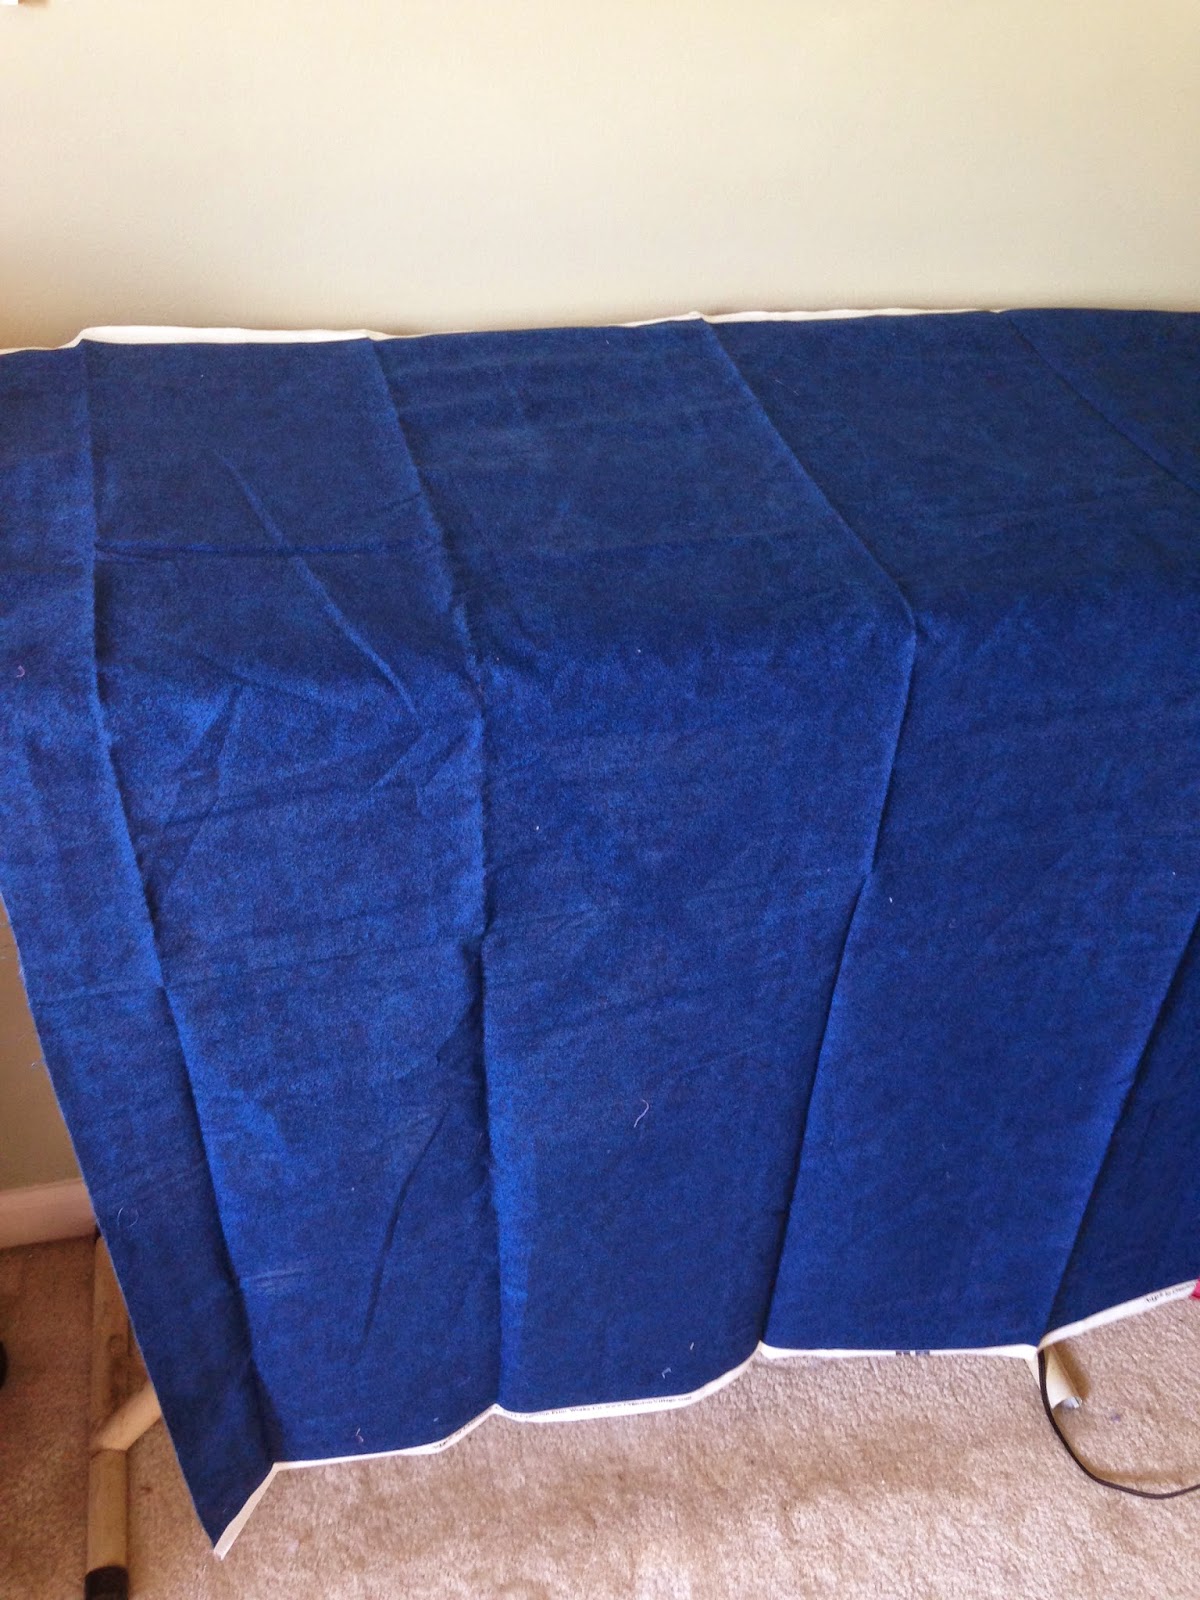
7) Now lets talk about cutting fabric that is already sewn together. For this project, I needed to cut my strips in pieces. A few tips here:
First I had to chose which side looked the straightest after sewing. The green looked best. So I lined the green with a bold line on my board.
Then, I needed to trim the edges because the brown was longer then the green.
8) It's okay to use a big ruler to cut small things, but the closer to size you use to your project, the better control you will have over your results. So I put a few rulers next to it, to see which one was the closest size. I ended up going with one of my oldest rulers, the blue one that is on it.

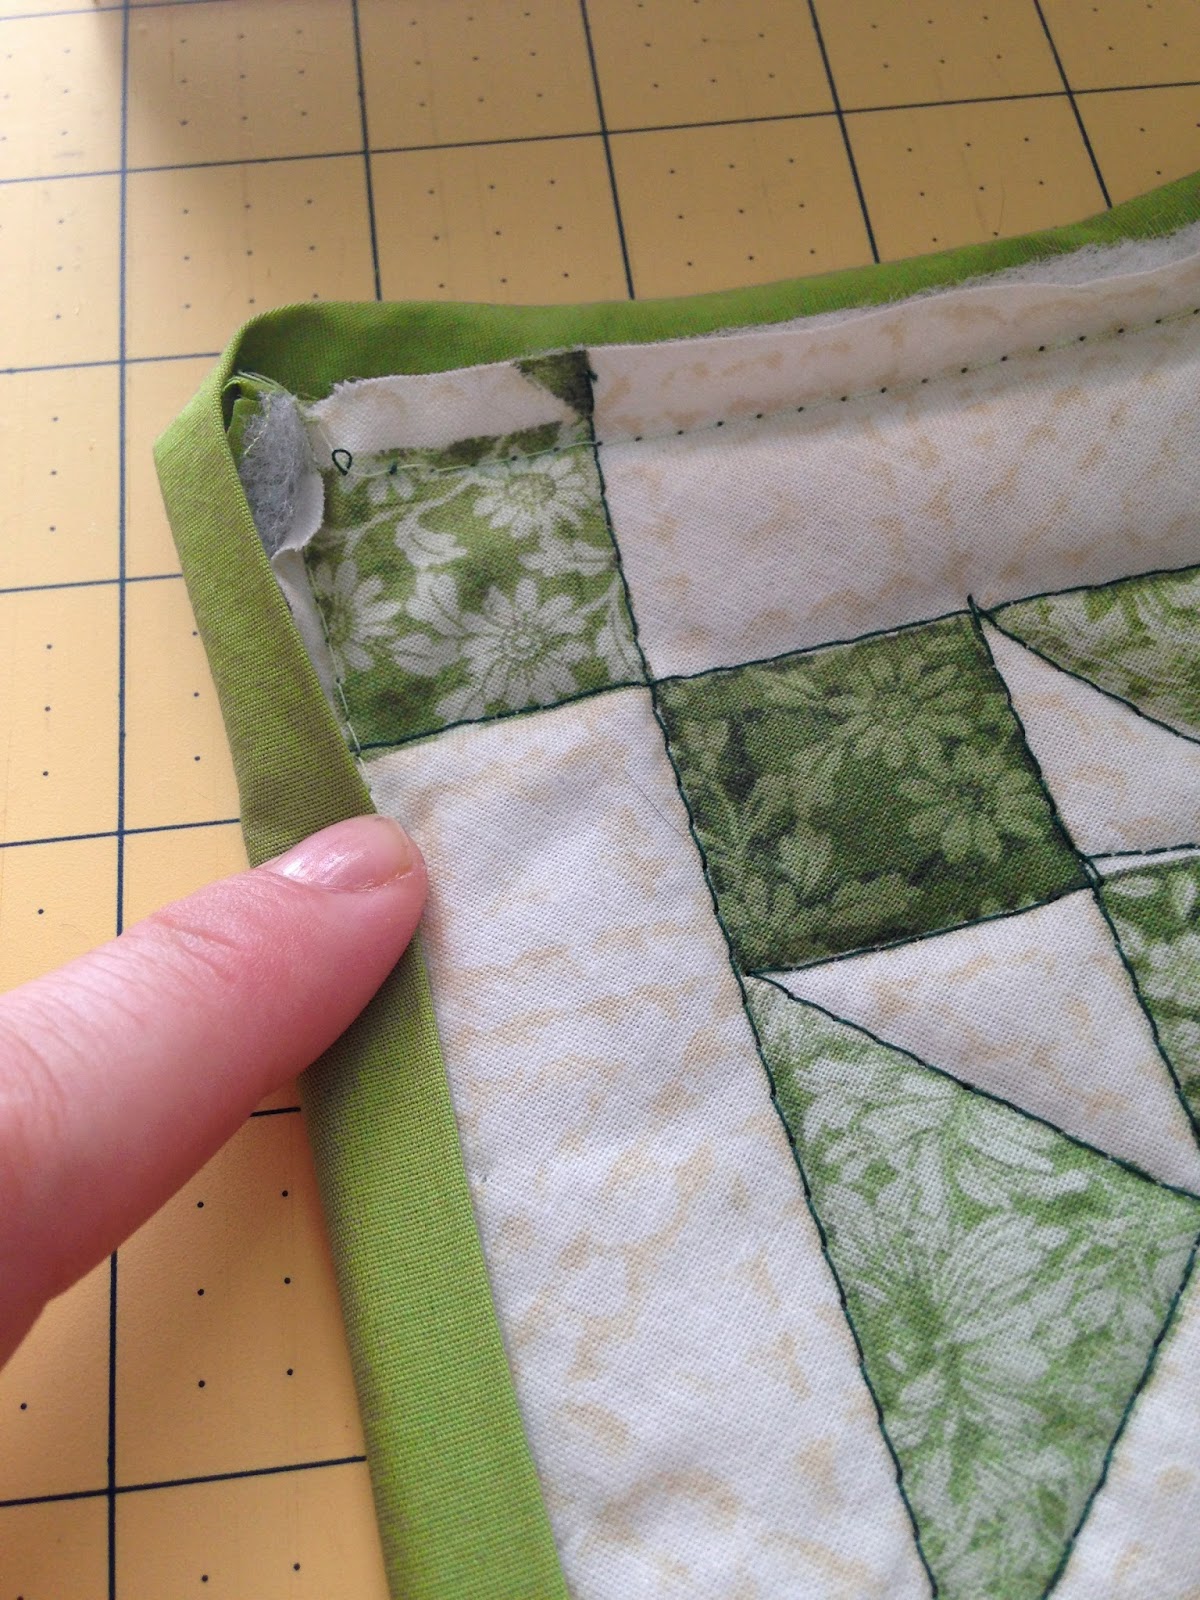
9) When we talked about Ironing We talked about putting the 'seam' to one side.  Now, for a quarter of an inch (Or how ever much 'seam allowance' you used) There are three layers of fabric in that tiny spot. So  you need to put just a little extra pressure with your cutting hand over those bumps, to cut all the way through it.

 Here I have a small ruler that I can control with one hand, and I am using the marks on my board to measure what I cut. Remember to always cut AWAY from your body/hand! ( My index finger is a little too close, but I'm a 'pro' :)
 10)Cutting through more than 4 layers may seem like a super quick way to get things cut, but it has it's consequences:
 In the above picture I cut through six layers, and the result: an uneven strip. This doesn't look too bad, but depending on your project, a quarter of an inch can make a HUGE difference! I kept this strip because the mistake was smaller than my seam allowance, and wouldn't be noticed...this time!


A few miscellaneous tips:

If you decide you don't like cutting, there are lots of different pre-cut fabric out there.

You don't have to throw your rotary cutter away, you can buy new blades, or even invest in a blade sharpener.

If you notice that your rotary cutter is missing spots often when cutting, it may be time to change the blade.

Try to cut every thing you need in the beginning of your project before you begin sewing, to save time.

If you have any questions of comments feel free to comment below! I would love to answer questions, or even take requests :)


Saturday, August 2, 2014

Things you need t know about Ironing! (Step Three)

So you want to start sewing, eh? Well, if you are a novice/beginner sewer you may not know that ironing will make or break your projects! I can barely think of a project that doesn't require it. (Maybe a few pincushion patterns do not require it, because you are just gonna stuff it anyways) So, oddly enough, I have a LOT to say about ironing, so let's get started! (Maybe that's why I have been putting this step off for so long... it seems so daunting )
Step 1) Get an iron and ironing board. You can make your own ironing board, but you can't make your own iron. While I was in college, my bed was my ironing board for a long time. All you need is something sturdy and soft. There is a very popular 'smart iron' these days that goes up to $200. But the cheap ones at Target work just as good for what you need. I bought my last one brand new from a bargain store, though I plan on upgrading soon.
Step 2) Know how to work your iron. Read the manual, iron some things. Figure it out. What turns the steam on and off? How do I turn IT on and off? Does the dial tell me what the setting should be for certain fabrics, like Courtney's does? IS steam even important? (Yes! It is VERY important!)


Step Three) How big should my ironing board be? Well, I have two. I have this small one, that I use on my table when I need to iron in between sewing a lot, and I have a large one that I use to iron, well, larger things.
 4) Tips on Ironing large things: I like to keep my board about an inch away from my wall, so that I can slide my fabric behind it. And I just iron the whole table, then slide the next chunk down that needs to be ironed.

 But! Most of the time, if I do not need the whole piece, I will only iron what I need. Though, this can be tricky. For you see, ironing can change the size of your fabric. So, you shouldn't cut EXACTLY what you need. Because you will need to iron it, and then trim it so size.
4) Ironing after you sew your fabric together (seams) is deadly. It will make or break your projects. Here is what you need to know! Here you see a red and blue Half Square Triangle . Obviously the blue is darker than the red. So you will need to press (You can just say 'press' instead of 'ironing' because you really are just pressing it, not REALLY ironing it) it to the 'dark side' .On this same square, you can see a dark blue line in the middle when help up to the light. The line is on the right side, pressed to the 'dark' blue side. 
 Here, you can not see the line at all, after we pressed it correctly.
 And here, The seam is pressed to the red side (the lighter side) and you can see it plain as day. We don't want that in our projects. The sewing police isn't going to get you, but it just looks professional.
 Here I wanted to talk about 'how' to iron. When I first started to learn how to use my machine, I would flip my pieces over to the ,back like this, and press the seam in the direction it needed to go. After watching 'a few' Youtube videos, I noticed, that I didn't see anyone else doing it that way.
 They would lay the fabric flat,
 And just press it in the direction the wanted.  Notice how the bottom layer, never moved. This way, you can still control which direction the seam goes. I pressed it toward the orange, because orange is darker than white.
 The blue and red Triangles shown today were in the process of being used for a project for my best friend. Enjoy your pillow cover sis!
 I hope you've learned more about ironing, than you ever wanted to know :)
I would also like to take the time to explain why the last part changed drastically. So. I took the pictures of the pillow case on a Monday. (With intentions of posting a blog on Wednesday as usual) I also burnt my cover that same Monday. It was a really cheap cover, and I never liked how it fit my board anyways.
So I made a new one! I drafted my fiance to help a little, but it was done in just an hour! As of right now, I have not been able to test it out! The orange and white squares' pictures were taken on it,(On Saturday, the day of posting the blog) but not pressed on it.
It fits so much better than the other cover! I love it!! And it was free! I had some soft yardage and elastic available for use.
Feel free to comment below! Did you learn anything? Would you like to know how I made my cover? Do you have and requests on something you would like to learn how to do? Next Wednesday is part 4! 'How to cut your fabric!'

Thursday, July 24, 2014

Combining Fabrics and Ideas (Step Two)

Step Two!

(A series on How to Quilt Just About Anything)

See The Original Blog Here! 

Now, that you are super inspired to quilt something, what are you going to quilt? Did you see a quilt on Pinterest, that you want to gift someone? Did you buy some fabric at your local fabric shop, that made your heart melt? Did a friend or family member ask you to make them something specific? Fantastic! Now, you are ready for the next step! Here is my advice, on how to put two and two together:

I have an idea, but no fabric:


 Did you see a picture of something, that you wanted to try?

 Or maybe you found a pattern, that seems just right for your level of skills.
Or did you find a handmade gift you wanted to make?


That's wonderful! The first thing you need to do, is get some scrap fabric. I find all too often, that when I try to make something for the first time, mistakes WILL appear. No matter how 'easy' or 'simple' the project may seem, do not start out with your final projects fabric. Of course, this is optional, But! This is my advice.
If you don't have a collection of scraps just yet, go out and buy the cheapest fabric you can get your hands on. Do not keep colors pr patterns in mind, ugly is fine. Ugly fabric is the first thing I grab, when making a project for the first time, or working on a prototype.


(Not the most flattering for a bag and clutch, but! That doesn't matter :)


Even when practicing a large quilt, I recommend the same. Not for the whole quilt! Quilt's are made up of small 'blocks', which you could practice making one or two of.
Now that you feel confident in your pattern, let's buy the final fabric! Fell free to buy only what you need, or buy lots of it, so you can make multiple, or even start your scrap collection. I always reccomend buying a little more that what you need for a little 'give' room. Here is where I like to buy all of my fabric:
Precuts: MSQC   Scraps/cheap fabric: Walmart   Yardage: JoAnn's (I go in store , though)
Remember when buying fabric by the yard, to order it in yards:
"I would like half of a yard, in this color, and two yards of fabric in this kind here."


I have fabric:

 "Courtney! I was at JoAnn's and I found this fabric that I just HAD to have!, What should I do with it?"


"I'm not really sure what these are, but I LOVED the colors! So I just threw them in my cart."


"I have this stash of fabric, that looks nice, but it's just been sitting collecting dust."


My first question to you is:
How Much fabric do you have?
When working with Yardage, You have many possibilties!(When I say yardage, I am referring to buying your fabric buy the yard).I reccomend, a large/regular size quilt if you would like to use up all of the yardage.
I also, just keep Yardage laying around for when purses need lining, quilts need a border ,and times when you just need a large solid to do the job.
Sometimes I buy fabric on sale, and just make something only out of that, with no added bought fabric. See my Reversable Baby Blanket for a perfect example of that. I made up the measurements strictly up on the fabric that I had bought. I do that a lot.
I bought this pack of 1/8ths at JoAnn's some time ago. (1/8 - It was cut before I bought it) I love this fabric, and I had been afraid to cut it for some time! Should I make a quilt? Should I invent a new purse?I ironed out the fabric, measured it, and stared at it on my floor for some time.  I then decided to invent another purse, so i took some scrap fabric and tested it out. See photo of farm/bug, and bowling fabric above to see result :) Purses,wallets,oven mitts, and other smaller things are perfect for small or pre-cut fabric.
I paired up the fabric and decided to make 5 purses to give for Christmas (One for myself too!). I did have to buy some yardage to match, but sometimes you have to.
(It's July, my sisters won't remember in December :)


After writing this blog I now have TWO new blog ideas! One on pre-cuts and another, on my original purse patterns. (The last one will be a few blogs, since I like to write my own purse patterns, and have a few)
Thank you so much for your time! Be sure to comment below! What blogs would you like to see one day? Are you working on a project right now? Do you do things differently or the same as me? I'd love to know!

Wednesday, July 9, 2014

Easy Oven Mitts! - How To Quilt!

 Originally there were 52 pictures in this blog. I then decided, that even myself would not want to read that much. I deleted replicated photos. Still almost 50 pictures. So then I made the decision, not to go into detail on the binding. I have a segment coming up later for that, so I will spend a whole blog on binding then :) (What is binding?...) You will see :)So! I thought that showing you how I make my oven mitts would be a great idea to briefly show you how to quilt! It's doesn't show everything but, close! Let's just jump in.


The fabric on the left was left over from a pillow case I made for my mom, two Christmas's ago, and the fabric on the right is left over fabric from a quilt I recently made for my best friend Jacklyn.
The scrap fabric was long, and I didn't want to iron what I didn't need, so I cut them both down some, with out measuring them. 
I saw a pattern on the fabric I liked, so I cut an inch around it. We need six pieces total: Two tops, Two pieces of batting, two backs. Well, that is, if you are making two oven mitts :)
 For the middle (batting) You can buy special Thermal-batting that is heat resistant, or you can use 2-3 layers of regular batting. I just took some scrap batting and folded it over for a double layer.
 Now we make a sandwich! (Which is the actual term used for putting the three layers together :)
Always make sure your batting is about an inch bigger/longer than your squares, it may get tugged around in the quilting process.
 Next we need to pick out some thread! One for the top and one for the bottom/underneath!

 I chose a dark green for the top and a matching green for the bottom. You can also go abstract and chose a color that doesn't match, just so it shows through on purpose! Which can be neat sometimes.
 Next, we need to grab a few safety pins. Sewing pins usually have trouble going through all of the layers and easily fall out. I like to put mine, where I wont be sewing, so I don't have to take them out while I am sewing.
 Next we need to decide our quilt pattern. Using thread to hold the three layers together is the actual quilting process, If you don't, then(in my opinion) it doesn't count at a quilt or being 'quilted' . Next you will need washable chalk or a Heat pen(Also, called a Friction pen). I bought a few Heat pens because I LOVE them!! You just use your iron and it comes right off!
 After drawing on your quilted design, I set my stitch length to 4 for this one(Though I realized my pattern was small, and should have used a shorter stitch length) You can set it to whatever you want, but I like doing most of my quilting on 4, especially when I have a very large quilt to do only because it goes by faster.  I would recommend a smaller stitch for intricate patterns.
 My fiance brought me a friend, while he was outside with yard work :)
 Tada! This tuned out nicely! I decided to sew along the pattern that was already on the fabric. Trim any loose threads as you go....Or all at the end, like I tend to do ;)
 I transfered the same pins I was using to the other oven mitt. You can put a bunch of pins in both of them, I was just doing one at a time for tutorial sakes.
 Next we need to trim them!I trimmed them down about half an inch on every side.
 Before trimming, and after. Very neat, and clean! Which is what we will need for the next part.
 I had to use the marking on my ruler rather than my mat because I was using my fabric as a guide.
 Aaaaaand, I don't know where my friend is anymore. Maybe the cat and him are playing...
 Next! You will need 2.5 inch strips! This will be for your binding that you will see on the very outside. You can cut these strips in the very beginning when you are cutting out your squares too. You will need enough to go around your squares, plus extra.
Now for a quick over view on binding : First, iron your strips in half
 Leaving about 4-6 inches from the top of the strip, begin with a few back stitches before sewing.
If you plan on using your machine for the whole process, start on the back of your project. If you plan to Hand bind , start with the front. I am staring on the back with this project. I have Hand bound my first project, it took a few hours, but it looks amazing!
 When you come to a corner, stop about a quarter of an inch before reaching the bottom, turn your fabric, and fold your strip up. (Excuse the band-aid, I got a small 'boo-boo' at work that day.)
 Bring the strip straight down.  And begin sewing from the top again. Like nothing ever happened :)
 When you get to where you started sewing leave a few inches gap. Sew the two strips together. Cut off the excess fabric and sew the gap closed.


 Turn the project over and top stitch the binding down as close as you can get to the edge. 
This would be the time for hand binding if you chose that. You would use needle and thread to bind it to the back of your project. 
 Fold the corners, and use any type of clip to hold them in place. Sewing pins may not work here due to the thickness.


 (Here you can see how close I was to the edge, and the green top thread I chose)
 For corners, just pivot and turn, nothing special, you don't need to sew the diagonal on the corner.
 I rushed through a few parts of this while sewing because lunch was nearing and I was VERY excited to make this for you guys lol  I really hope you enjoyed this!
 If you have any questions, feel free to comment below!
This whole tutorial will be featured in some of the steps for the 'Ten steps to quilt just about anything'