
The fabric on the left was left over from a pillow case I made for my mom, two Christmas's ago, and the fabric on the right is left over fabric from a quilt I recently made for my best friend Jacklyn.

The scrap fabric was long, and I didn't want to iron what I didn't need, so I cut them both down some, with out measuring them.


Always make sure your batting is about an inch bigger/longer than your squares, it may get tugged around in the quilting process.


Next we need to pick out some thread! One for the top and one for the bottom/underneath!


Next, we need to grab a few safety pins. Sewing pins usually have trouble going through all of the layers and easily fall out. I like to put mine, where I wont be sewing, so I don't have to take them out while I am sewing.

Next we need to decide our quilt pattern. Using thread to hold the three layers together is the actual quilting process, If you don't, then(in my opinion) it doesn't count at a quilt or being 'quilted' . Next you will need washable chalk or a Heat pen(Also, called a Friction pen). I bought a few Heat pens because I LOVE them!! You just use your iron and it comes right off!


After drawing on your quilted design, I set my stitch length to 4 for this one(Though I realized my pattern was small, and should have used a shorter stitch length) You can set it to whatever you want, but I like doing most of my quilting on 4, especially when I have a very large quilt to do only because it goes by faster. I would recommend a smaller stitch for intricate patterns.

My fiance brought me a friend, while he was outside with yard work :)

Tada! This tuned out nicely! I decided to sew along the pattern that was already on the fabric. Trim any loose threads as you go....Or all at the end, like I tend to do ;)

I transfered the same pins I was using to the other oven mitt. You can put a bunch of pins in both of them, I was just doing one at a time for tutorial sakes.

Next we need to trim them!I trimmed them down about half an inch on every side.

Before trimming, and after. Very neat, and clean! Which is what we will need for the next part.

I had to use the marking on my ruler rather than my mat because I was using my fabric as a guide.

Aaaaaand, I don't know where my friend is anymore. Maybe the cat and him are playing...

Next! You will need 2.5 inch strips! This will be for your binding that you will see on the very outside. You can cut these strips in the very beginning when you are cutting out your squares too. You will need enough to go around your squares, plus extra.

Now for a quick over view on binding : First, iron your strips in half

Leaving about 4-6 inches from the top of the strip, begin with a few back stitches before sewing.
If you plan on using your machine for the whole process, start on the back of your project. If you plan to Hand bind , start with the front. I am staring on the back with this project. I have Hand bound my first project, it took a few hours, but it looks amazing!
If you plan on using your machine for the whole process, start on the back of your project. If you plan to Hand bind , start with the front. I am staring on the back with this project. I have Hand bound my first project, it took a few hours, but it looks amazing!

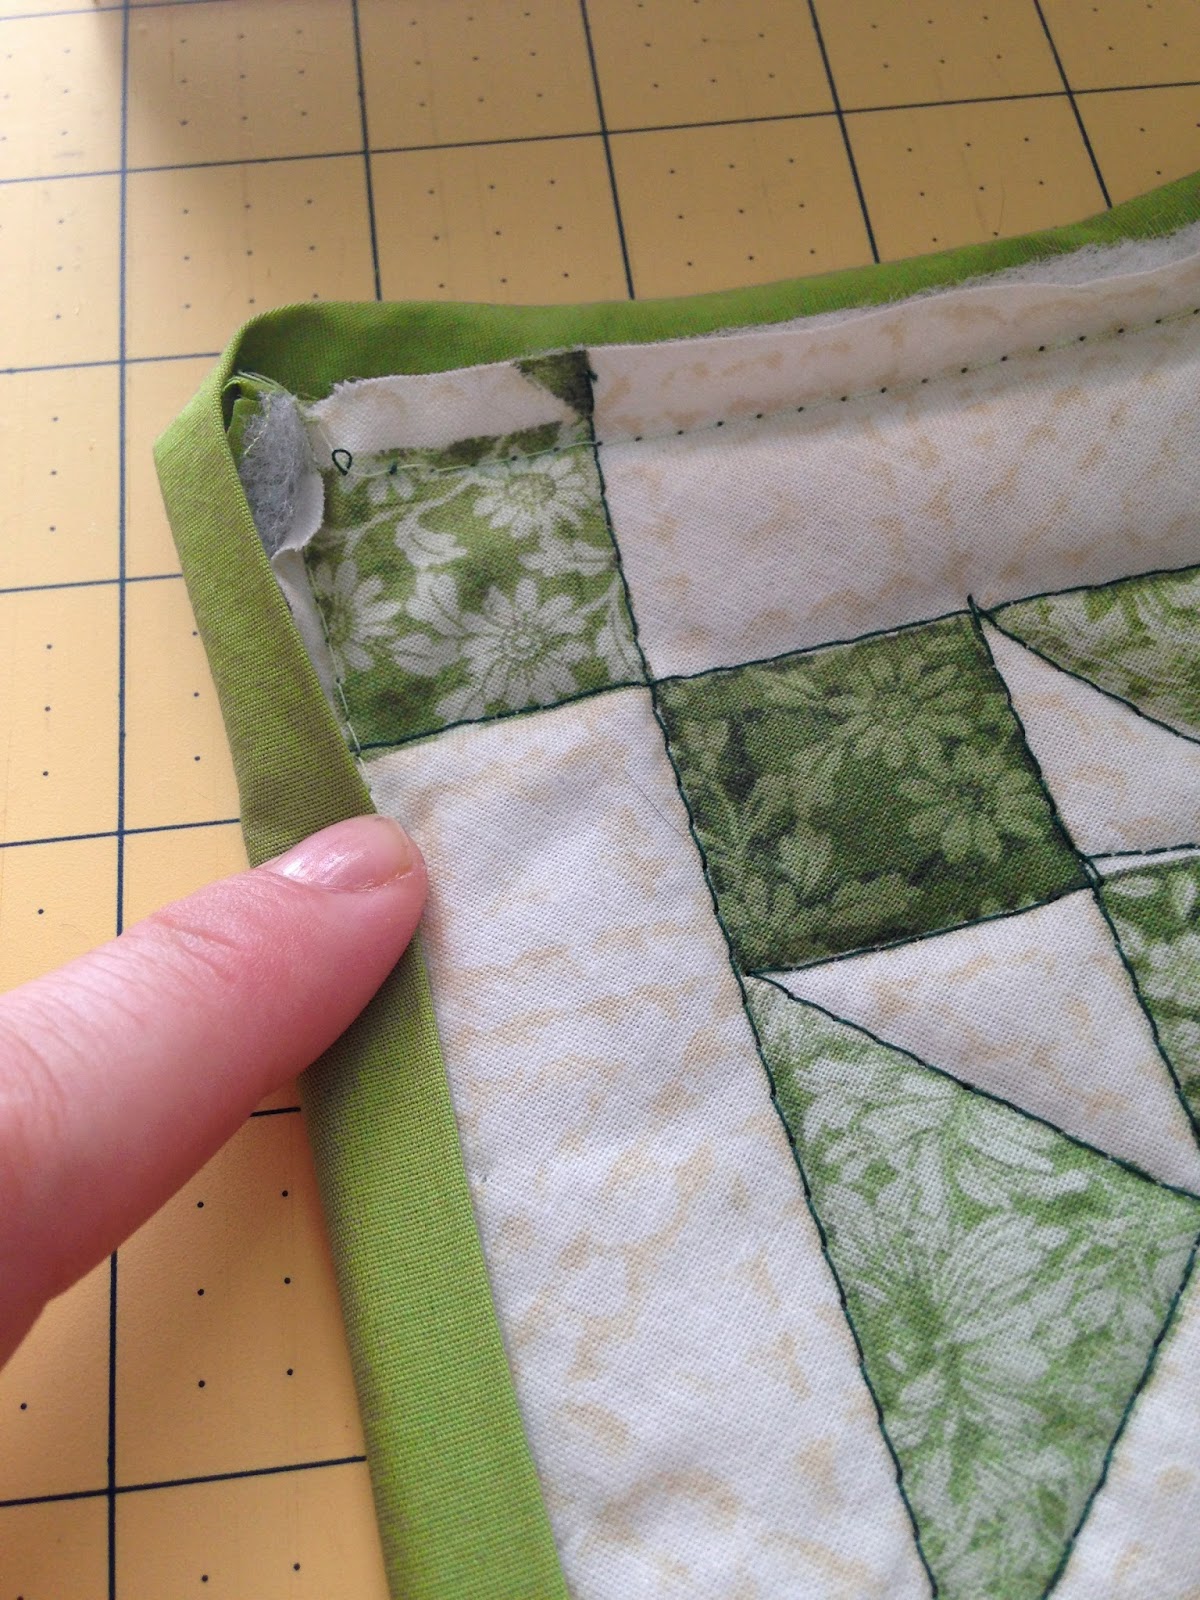
When you come to a corner, stop about a quarter of an inch before reaching the bottom, turn your fabric, and fold your strip up. (Excuse the band-aid, I got a small 'boo-boo' at work that day.)

Bring the strip straight down. And begin sewing from the top again. Like nothing ever happened :)

When you get to where you started sewing leave a few inches gap. Sew the two strips together. Cut off the excess fabric and sew the gap closed.


Turn the project over and top stitch the binding down as close as you can get to the edge.
This would be the time for hand binding if you chose that. You would use needle and thread to bind it to the back of your project.
This would be the time for hand binding if you chose that. You would use needle and thread to bind it to the back of your project.

Fold the corners, and use any type of clip to hold them in place. Sewing pins may not work here due to the thickness.


(Here you can see how close I was to the edge, and the green top thread I chose)

For corners, just pivot and turn, nothing special, you don't need to sew the diagonal on the corner.

I rushed through a few parts of this while sewing because lunch was nearing and I was VERY excited to make this for you guys lol I really hope you enjoyed this!

If you have any questions, feel free to comment below!
No comments:
Post a Comment