Like any normal trip to Walmart...The very first place I check out is their Fabric area. I see what is on clearance, and which 'remnants' are available. Remnants are small pieces of fabric left on the box, when people order fabric. If you have ever had fabric cut at a store ,or have even seen it while walking around, you can see the fabric is folded around a slender cardboard box(called a bolt).(A flock of seagulls, a heard of cows, and bolts of fabric :) If someone has fabric cut for them, and there is less than a yard left on it, they will try to sell it to the customer at a discount, or just put it in a pile to later be tagged for a discount. I may not always have a project in mind when I buy remnants. %95 of the time I don't, really. But, for %50 off or more, I want to stock up :) Sometimes they do not have a large variety of remnants, but that day they did! MY eye caught a few things, and then instantly noticed they went together for an almost perfect match! Here is what I found :)
Ya know, I don't really care for monkeys... But this zoo print... I love it so much! Too cute! And the yellow fleece was VERY soft, and you just can't go wrong with a dark brown cotton ;)
And I ended up paying about $5 for all of the fabric... And there was enough left over to make another!
I wasn't really sure how much fabric I had bought. So I ironed all of my pieces (except the flannel, it doesn't really crease) and laid them all out on the floor. I still didn't have a clue... I just wanted to sew. So, I went to Pinterest, and typed in 'Baby sewing projects' in the search bar, as a starting place. I Kept how much fabric I had in mind, and scrolled through the pictures for a while. After I had narrowed it down to 3 projects, I clicked on the tutorials, and was sold on the Reversable Hooded Baby Blanket! But! As usual... I felt like the tutorial was much more complicated than it really was. So, I wrote my own version.

There was more fabric than pictured above, but I didn't think to take a picture during my 'thinking stage'. I did, however, base the size of my squares PURELY off how big the brown fabric was. It was a long rectangle that looked like a good sized square, when the rectangle was folded in half. Thus, the size of squares were born. A close up of the super adorable Zoo Print.
You will need!One Flannel (Or not flannel) square that measures 21 inches by 21 inches. I really recommend 25 inches, but this is what I had. One 10 inch square, and another large square that is also 21 or 25 inches (which ever one you chose) The small 10 inch square will be your hood, and it will slways be the same. It's the blanket that 'reverses'
Got your pieces? Good. The 'hard part' is actually over now. It took me forever to decide the final sizes for the squares, and to cut them exactly the same. First! Fold your small square in half, like a triangle.
Next! Pick your favorite corner, and lay it in between your two squares, with the corners matching. If your Large squares have prints on them (Mine do not, I am using solids) Make sure the 'Right sides' (The pretty sides) Are NOT facing the outside. This is knows as 'Right sides together'.
Close your sandwich, your triangle shouldn't really be seen now.
Place a extra pins on the corner that hold your triangle.
(If you would like a tutorial on how to make pin cushions, comment below!)
You can see on the top left is where my triangle is, because I have extra pins, I just put a few around the rest of it.
Next, make sure your thread isn't a completely different color from your project. Sorry, pink, you can't do Everything. I shall use trusty yellow for this project.
Now! Chose your most favorite side, not corner, but side. I chose the opposite side from my triangle. This particular project is going to be finished/closed by the 'inside out' method. So, it's a lot easier to close a hole that is not at a corner.
Be sure to back stitch a little when you start, it will keep from ripping the thread when we turn it inside out.
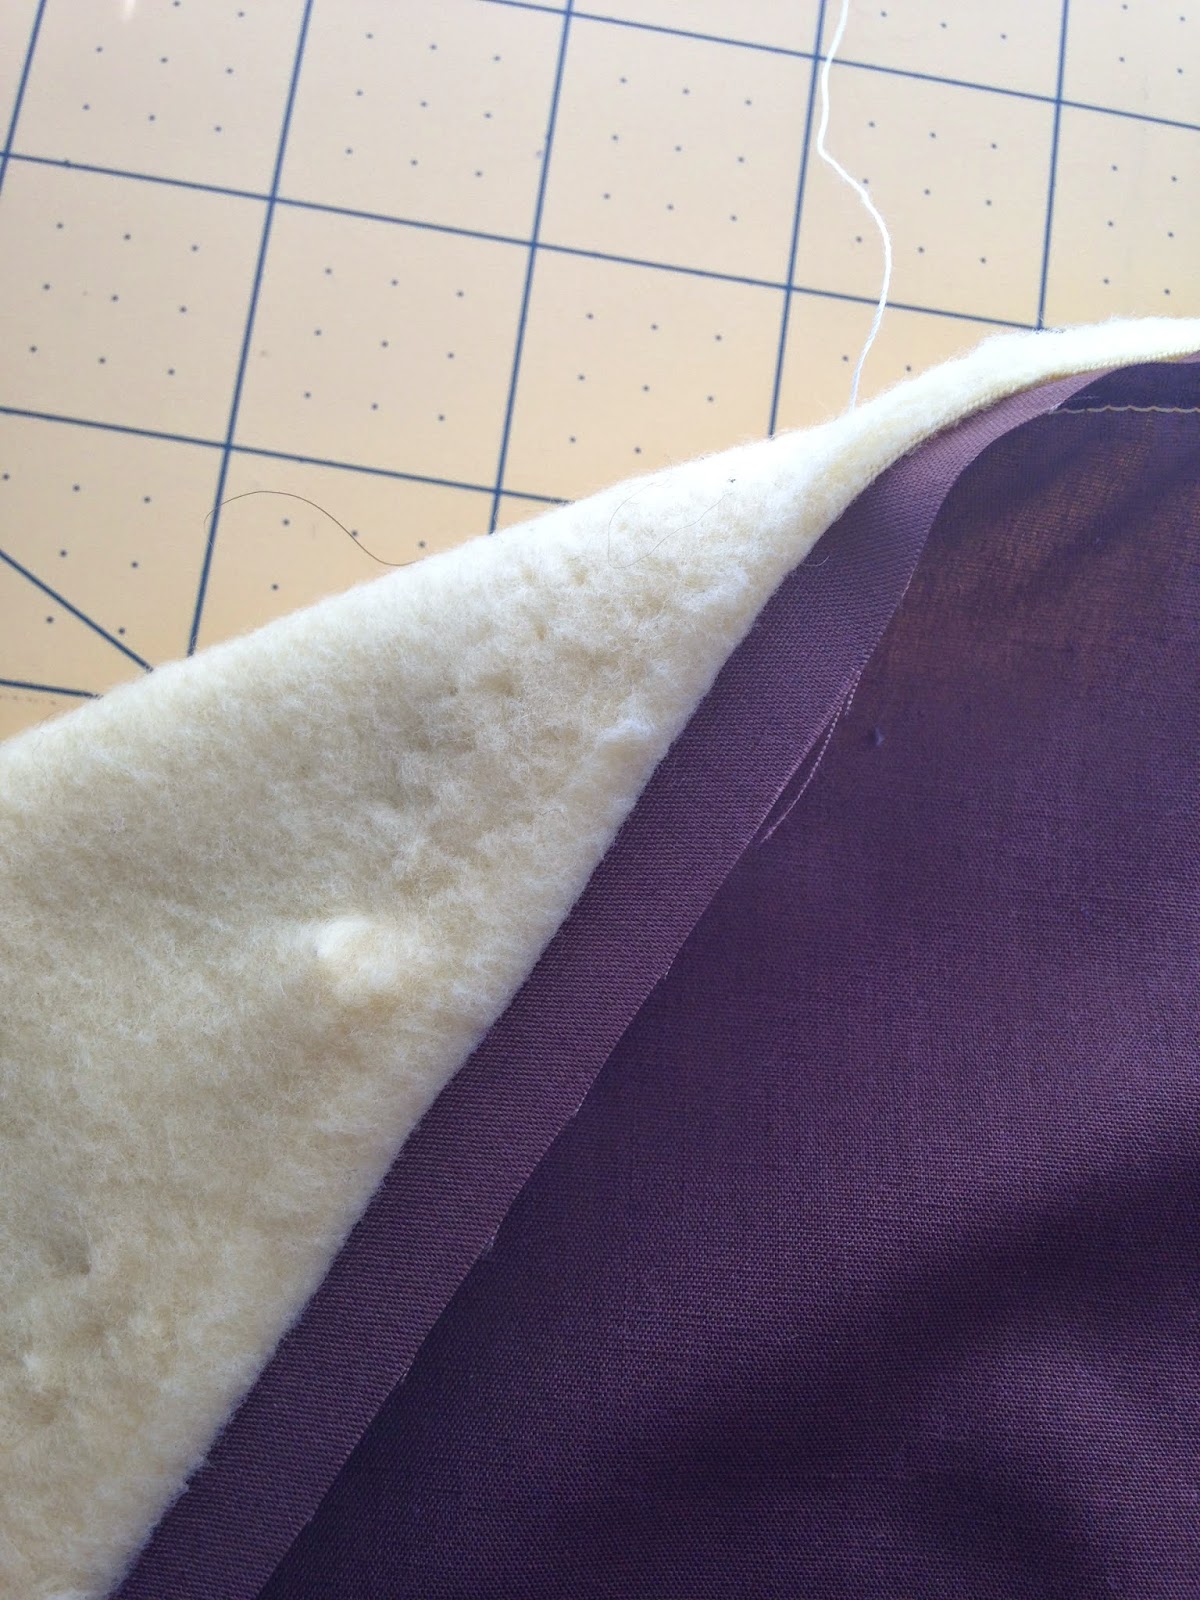
No matter how hard I tried, the sides were stubborn, and would not match up. So I used which ever side I could see as my guide. You can see the right side of my 'sewing foot' the edge is along the brown.
(I have no idea why this picture looks white and purple, must have been the day light)
You can see on one side, and the brown was further over, so I used the yellow as a guide around.
Almost there!
I stopped a little more then 3 inches away. I wouldn't recommend anything smaller.
Next, I went around and trimmed, where I am bad at sewing. It's okay, no one is perfect :)
Lookin' good! I went to the iron and gave it a quick press.
No for the fun part! Flip it right side out!
I like to use my favorite tweezers for the corners. The end is dull, yet pointy enough. And I keep one or two pair in my sewing kit, just for this.
Now to close up the hole. You can use the same Iron On Glue we used in
Super Easy Baby Bib Or! You can just sew around the edge, about 1/8 of an inch around.
How fantastic! How easy!
Which side do you like better?
Send me a picture if you decide to try it! mckenziec89@gmail.com or find me on Facebook! (Or even text it to me, if you are friend or family :)