So, I was prowling though my best friend's Pinterest boards,(Like a good best friend should do) And I came across this project in her 'Crafts' Board.
This is the original page . They have a very nice tutorial, but I wanted to go more in depth of how I decided to do it. So let's jump in!
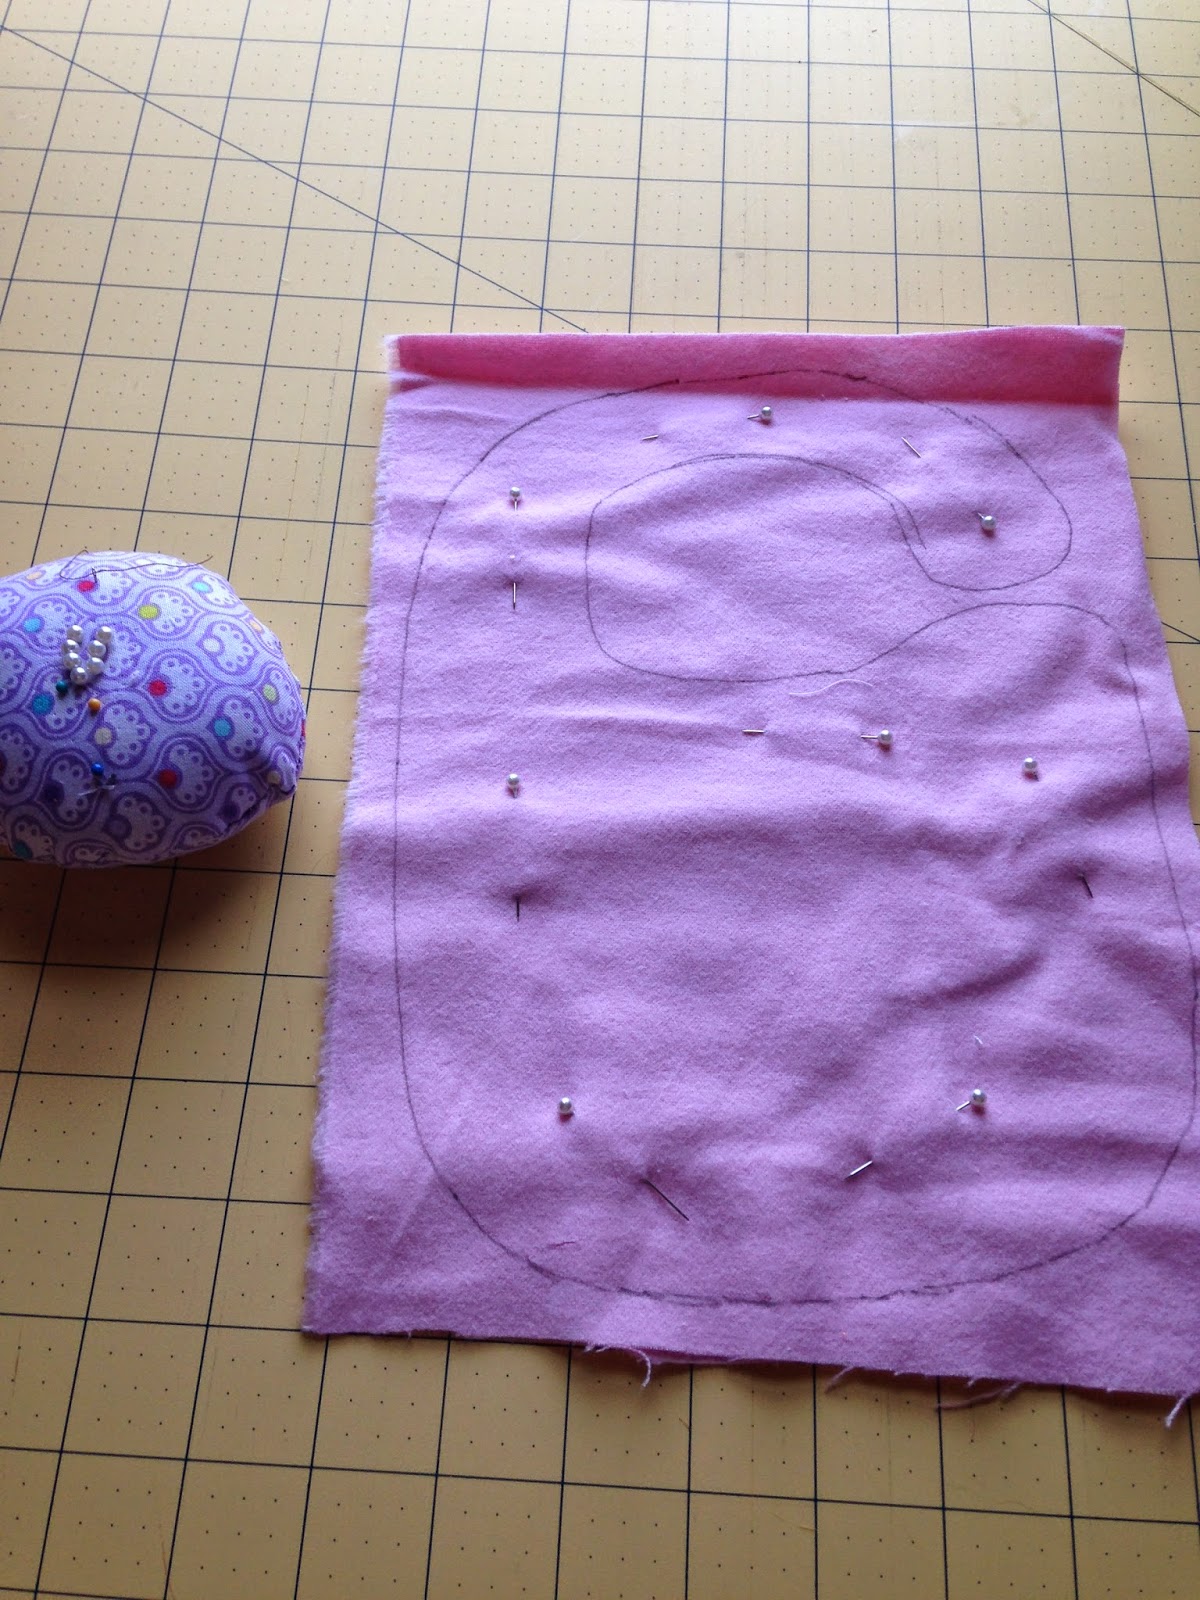
I started off with Cutting the fabric about a half inch around the pattern. I just eye-balled it.
Normally, this is the part where people pin the paper and cut out the shape.
But, I chose to trace it first. I used a quilting pen that erases with heat (Bought from Missouri Star Quilt Company Online) But, this will be inside, so you could use anything you have on hand as long as it doesn't bleed through. I should also mention I chose flannel, so there wasn't really a 'wrong side'.
I then Pinned the fabric. I like to place my pins out of the needles way. Normal people take them out as they go, but I like to keep them in. I then 'tried' to sew along the black line.
And this is why I didn't cut the fabric, and THEN sew. Curves are not my friend. With practice they can be, but currently they are not easy.
This is a picture of the back, with out the black line. This is what the shape of the bib will be. You can also see on the right, where we will be turning it Right side out from. I like to back stitch on the opening ends to secure the fabric. It has fallen apart on me all too often , for me not to.
I took the pins out and used my rotary cutter to trim the big pieces off. (And yes I do hold it like that when I am Free-Handing, hehe) I gave about a quarter inch or less from the stitches (Seam allowance)
On the practice bib I used only my rotary cutter, but for the intricate parts I used scissors this time. Both are fine.
This is the shape I was left with. Remember the shape of the bib is what you sew, not what you cut.
So!To turn it inside out, I started with the most difficult part...The narrow curve at the top. I placed my thumb all the way in until my thumb and index finger(actually that's my middle finger) touched. I pushed the 'neck' part through with my index finger to the outside. The first time I did this, I had sewn this part too narrow, and I had to use a pencil to turn it.
The next part is optional, but necessary. I ironed it flat, and rolled out the part with my fingers that didn't turn out all the way.
Be sure to turn the fabric inwards before you iron it, so these will stay inside. There or a few ways you can finish/close this up.
You can use a 1/8 stitch around the bib to close the hole. OR you can use anykind of Iron on bond. Or you could even hand stitch it closed. Since this project is flat, I chose to use some 'Stitch Witchery' and Ironed it closed. I found some velcrow in my draw while looking for the Stitch Witchery.
Normally, if I am going to put Velcro in it, I would have done it before I had sewn the two pieces together in order to hide the thread. But this was a last minute decision. So I chose the best looking side, and made it the front.
Once my brother tells me his unborn daughter's name I plan to applique her initial on it. I'll be sure to put that up when it happens :)


Great tutorial!! ^_^ I can't sew but this really looks like something I could do! Thanks for all the wonderful tips and details, and your pictures are perfect!
ReplyDelete