This is one of my favorite go-to projects for when I need a gift and fast! I started making these about 2 years ago when we started trying for the first time. Make some for yourself OR a gift!
These are sew easy even YOU can do it, haha.
These are sew easy even YOU can do it, haha.
All you need is:
- Any fabric. Scrap, or pre-cut squares.
- An old clean towel. You can buy brand new if you HAVE to.
- Basic sewing supplies- (Machine, thread, scissors, iron)
- About an hour of time (Or less for experienced sewers!)
I got five burp clothes out of this one towel. But your results will vary depending on how big of a towel you use, and how narrow/wide you decide to make your burp cloths. The time it takes to makes these will also vary depending on how many you need to do. It took me about an hour and a half to make five of them, with a snack break in between.
Here are the ones I made a few years ago! For these I just cut out a 6" x 16" rectangle.

Just a rectangle and some terry cloth. It really is that easy!

I didn't take any pictures of me sewing 6 squares together... I hope you don't mind.
After sewing a few tops together, I laid them face down on the towel to see how many I could get.
After sewing a few tops together, I laid them face down on the towel to see how many I could get.

You can pin your rectangles to the towel at this point if you would like.
A responsible/smart sewer would. Thus, why I didn't... Yet!
Then, all you need to do is cut them out. I highly recommend making sure there is more towel than fabric. This will make for easier sewing later. So, don't cut the EXACT amount of towel out.
A responsible/smart sewer would. Thus, why I didn't... Yet!
Then, all you need to do is cut them out. I highly recommend making sure there is more towel than fabric. This will make for easier sewing later. So, don't cut the EXACT amount of towel out.

The next step is to struggle to get off of the floor because you are 24 weeks pregnant and didn't think this through. That step is optional.
In the picture below I have pinned the fabric to the towel and drawn two marks on the right.
In the picture below I have pinned the fabric to the towel and drawn two marks on the right.

These marks will tell us when to start/stop sewing. This will give us a hole to turn our project inside out. I drew my lines with a Frixon pen (removes with heat) You can also, just use 2 pins like below.

After you have sewn all the way around, you will need to trim up a bit. Trim your corners for less bulk , and trim the sides from where we made our towel rectangle bigger than our fabric.
IMPORTANT: I did not trim the side where we marked. I do this with any project I have to turn inside out because it makes it easier to tuck the fabric in after you turn it out. You'll see!

Now we just need to iron it after you have turned it and gotten the corners out.

Back to the sewing machine! Sew about 1/8 of an inch along the whole project. This will seal up the hole we made earlier. Also. Anytime a project says 1/8 of an inch... That usually just translates to
"As close as you can comfortably get it."
"As close as you can comfortably get it."

You can stop here if you want!!
Though, sometimes I like to sew around one more time for a double stitch look. I think it looks nice.
FYI: I ended up getting impatient and only doing this to ONE of them.
If you have a twin needle, and are comfortable using it.... Then this will not effect you.
Though, sometimes I like to sew around one more time for a double stitch look. I think it looks nice.
FYI: I ended up getting impatient and only doing this to ONE of them.
If you have a twin needle, and are comfortable using it.... Then this will not effect you.

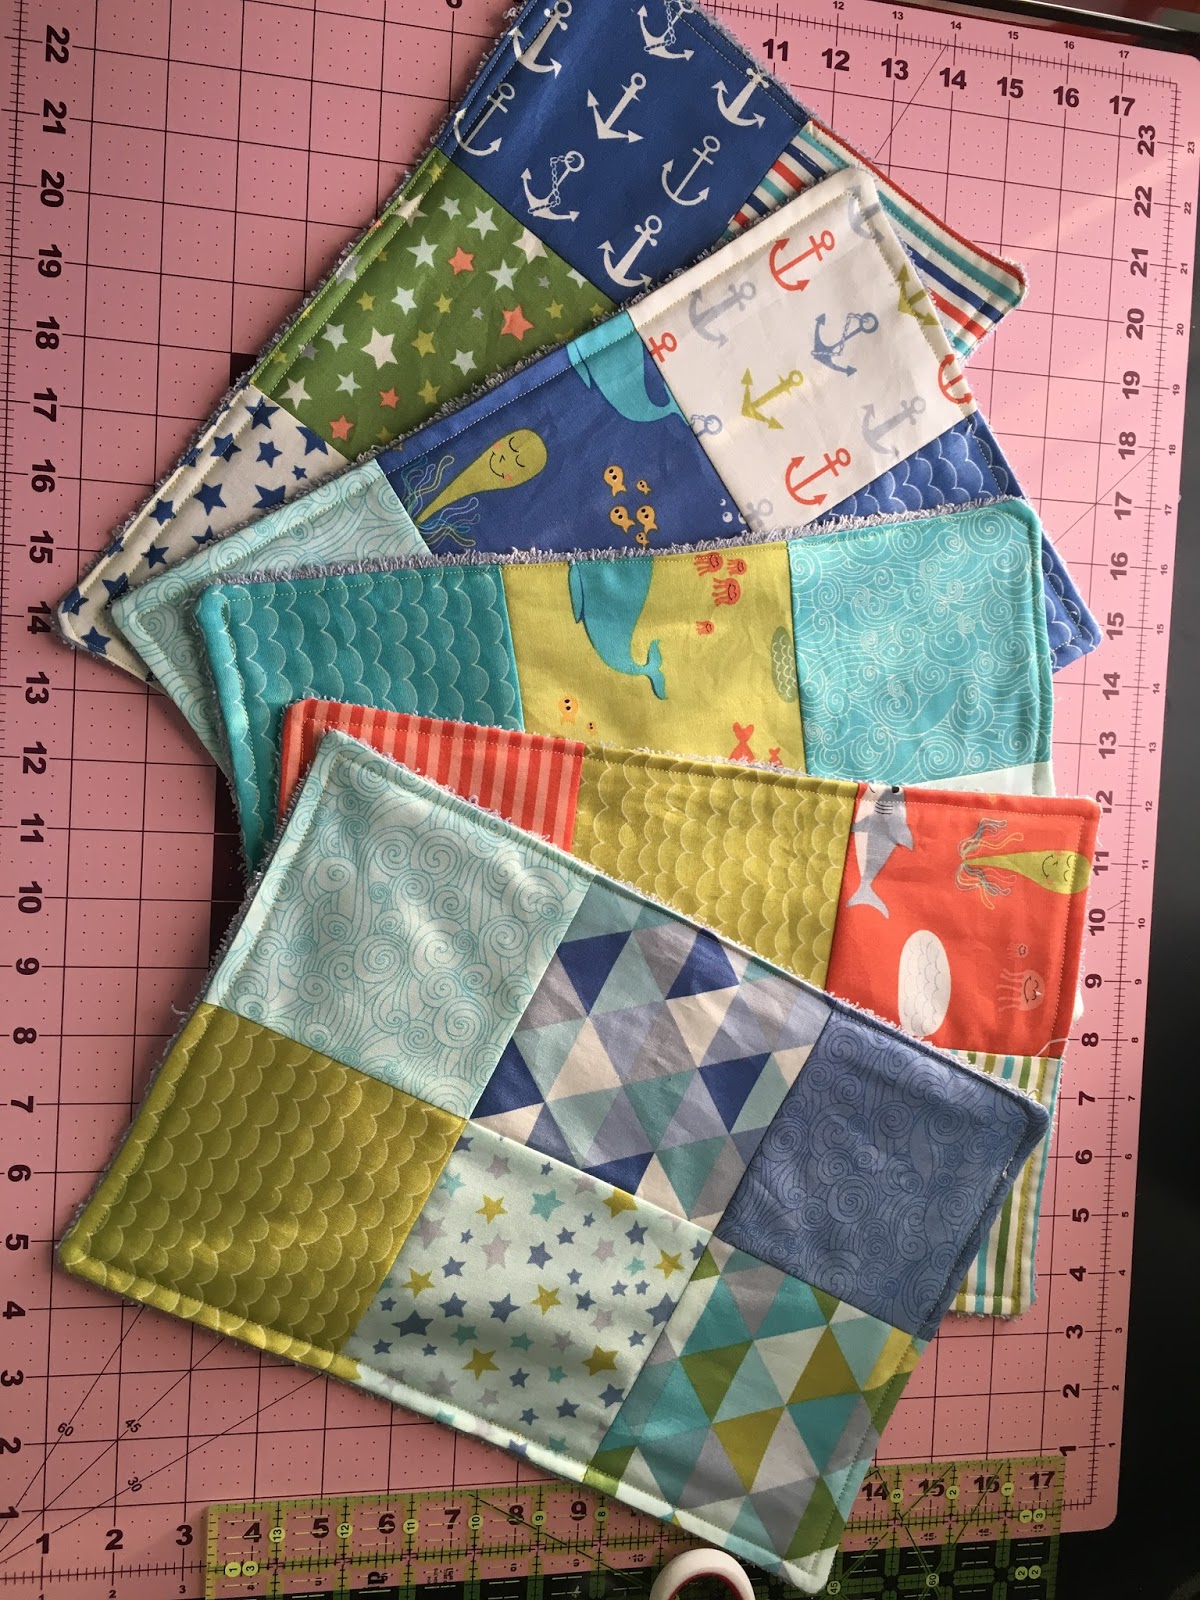
We did it! They are done! Let me know if you make one! I would love to see!
Feel free to ask me any questions, I love to troubleshoot!
Share your pictures/questions here!
Feel free to ask me any questions, I love to troubleshoot!
Share your pictures/questions here!
Love it!! Great tutorial!! I love the optional step! I remember it well! <3
ReplyDelete